

Still searching for the best method of etching without needing to spend a lot of money accessing a print studio - I’ve moved onto copper and ferric chloride. While the zinc plates in copper sulphate worked, it is quite a feisty process with a lot of sediment produced as soon as the zinc hits the liquid, and this didn’t work well with white ground, which I really like using for the softness it brings to an image.
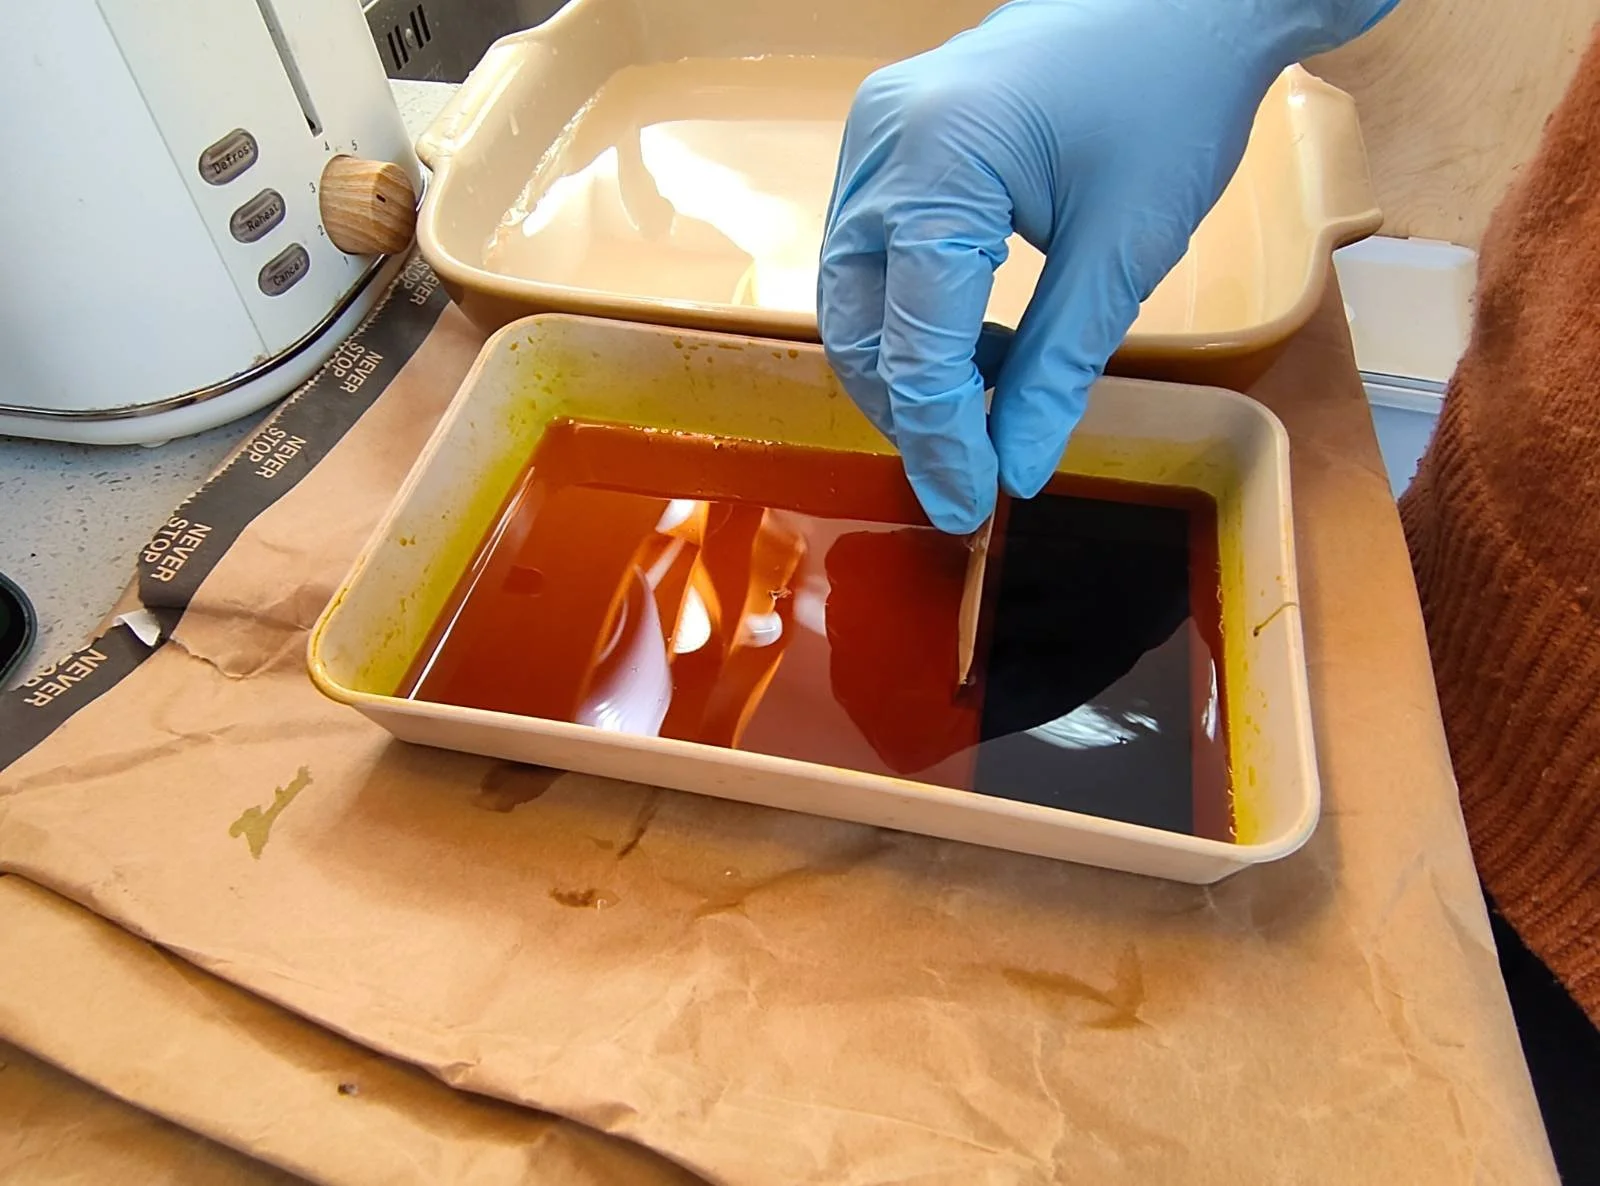
Becky Haughton (who taught me etching during my MA), mentioned that copper and ferric might be the way forward, and that it would also give a line quality that might suit my work better. After a bit of research I settled on ‘Edinburgh etch’ which is a mix of ferric chloride and citric acid (recipe below), which apparently is a bit faster and also any sediment is dissolved by the citric acid, so you can etch in a flat tray instead of it needing it to be vertical for the sediment to fall away (as I understand is the case with pure ferric).
I really wouldn’t recommend doing this if you haven’t been taught etching properly, and you don’t know the basic health and safety stuff or what you’re looking for when it works/fails. It would be difficult and also potentially quite dangerous. For full disclosure, I used to run a genetics research lab, full of hazardous chemicals, so this is familiar territory for me which is why it feels OK to be doing it…
So - here’s what I’ve done to get this working, mainly for my own notes, but also in the hope that it’ll save someone else some time:
Cut the metal plate to size (I’m using a tiny Dremel bandsaw with a little 3 in 1 oil to stop it catching as it cuts)
File the edges, scrape and burnish if needed.
I bought polished copper plates which don’t really need a brasso polishing step, so I skipped this.
Wash the 3 in 1 oil off with washing up liquid, then degrease the plate with whiting and water - really thoroughly - rinse this off then do the same using soy sauce. Rinse and dry with tissue or newsprint.
Roll a tiny bit of BIG ground on glass plate like you would with ink, coat the plate lightly with even strokes.
For some reason I had problems getting BIG to cure on copper - I even did a test with zinc and copper plates treated identically and baked together for the same time/temp, and while the zinc cured well, the ground was still tacky on the copper - still no idea why. Anyway long story short, and with some help from the lovely folks at BIG, cooking it at 190C for 14 mins cured it well (perhaps a little too well, and on their advice I’ll dial this back until I hit a sweet spot).
Clean roller and the glass slab you rolled the ground out on with veg oil, then soapy water, then dry well.
Draw into the ground - I’ve been using Lascaux stop out for now if needed (clean brushes in soapy water before they set hard!).
Cover the back and edges of the metal - use tape or lascaux plate backing resist fluid (used like straw hat - wash lascaux brushes in soapy water... when dry the lascaux backing is hard to get off but comes off with meths).
Wear a mask and acid-resistant gloves (and long sleeves, proper shoes, maybe an apron!) for mixing acid: 50g citric acid dissolved in 150ml warm water, then gradually add this to 800ml ferric chloride. Apparently this can last for years stored in plastic containers, and it turns dark green when it’s no good any more.
I did linework tests for 1 min, 5 min, 8 min, 12 min, 15 min, 20 min, 25 min total (a set of little people, each etched for a different time) - then I etched a little fox plate for 20 mins - at 20C (apparently Edinburgh etch works best at 18-20C, so keep an eye on the temperature if you want things to look the same on different days).
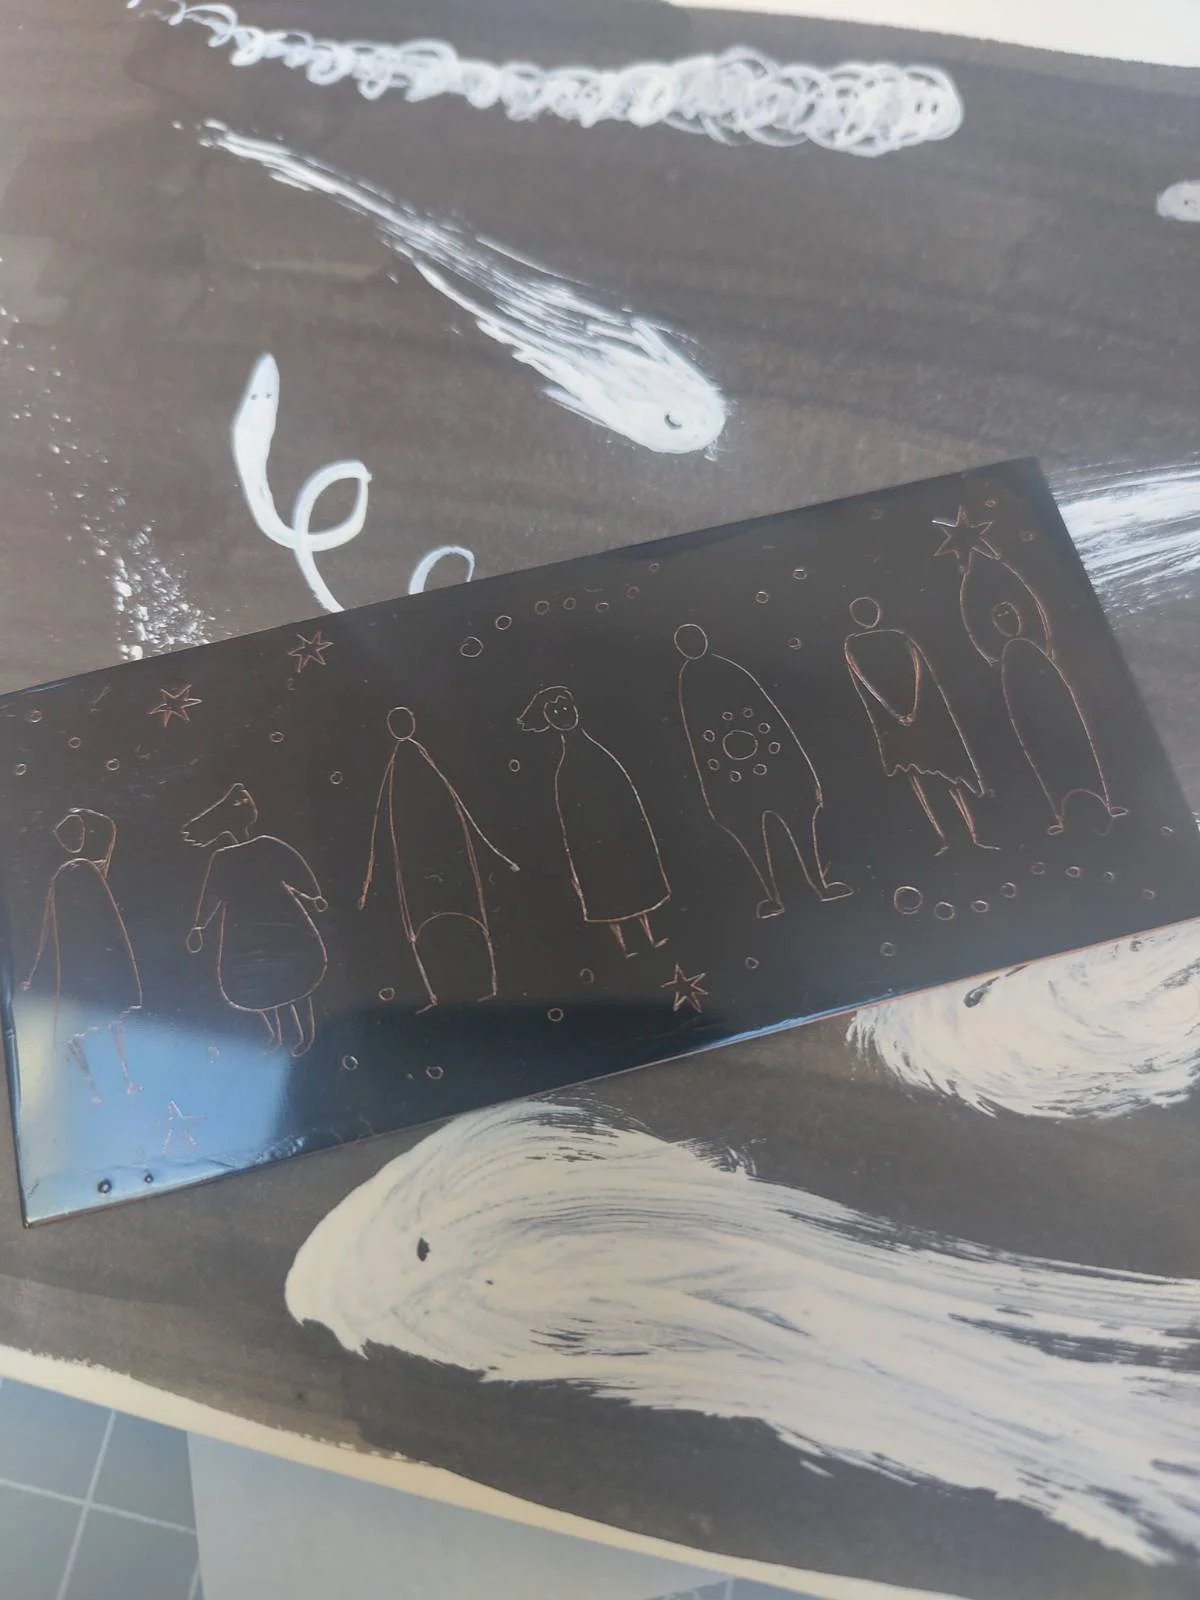
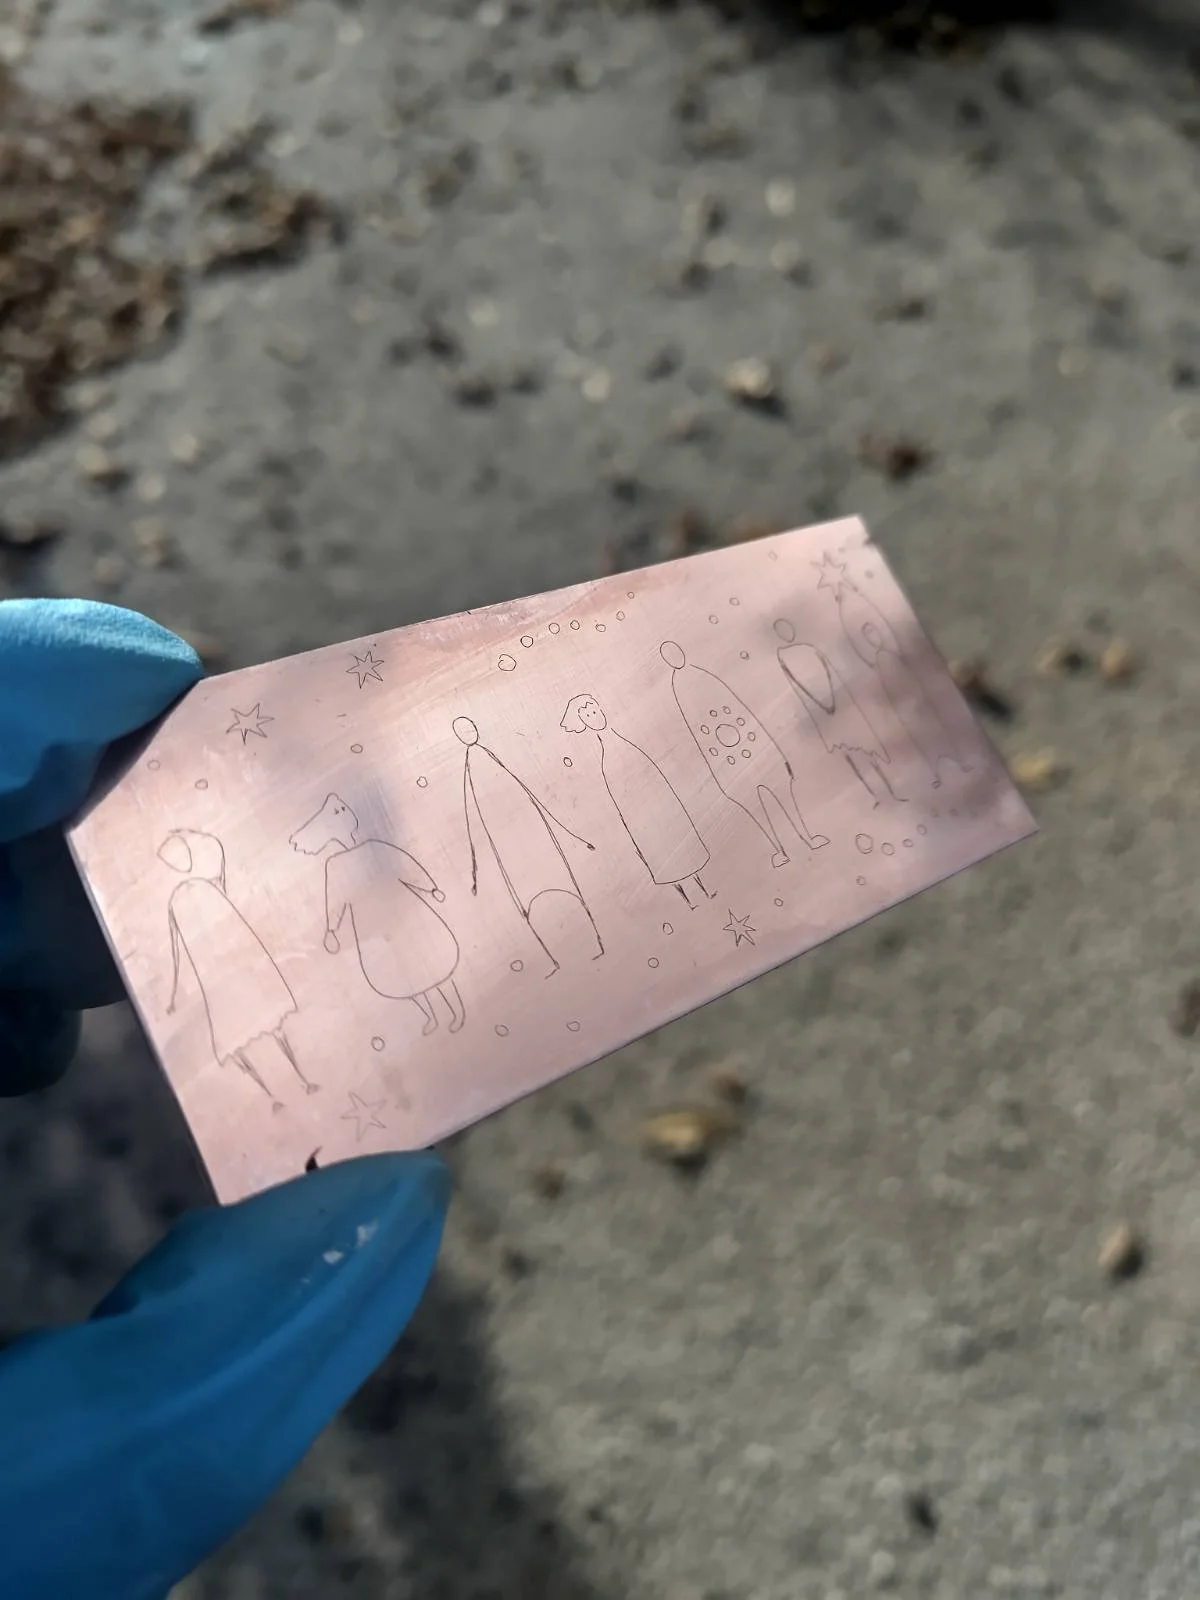
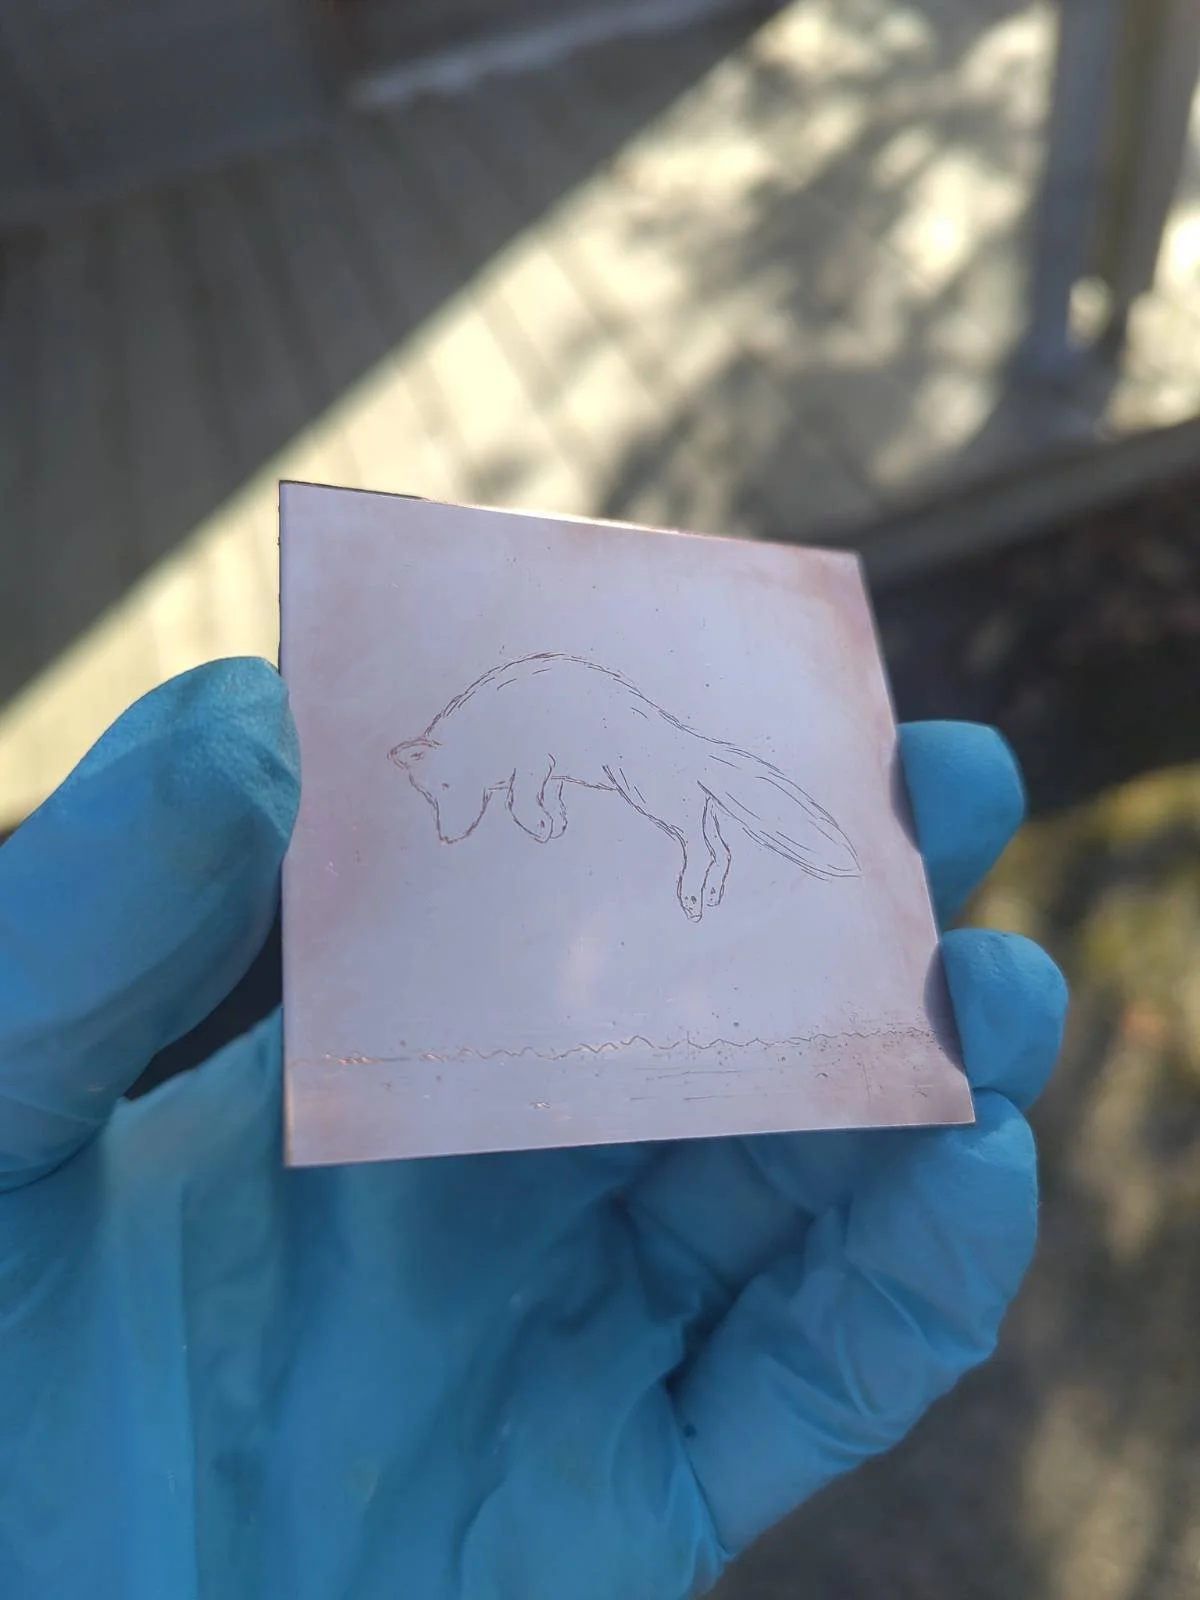
A lovely sharp line, and no foul bite! I am a happy creature today. As I write this, these plates are drying with spraypaint ‘aquatint’, stop out and white ground on them, for some more testing.
I’m not used to working with copper, so the fact that it tarnishes so fast was a bit alarming. You can deoxidise it easily with either soy sauce or salt/vinegar mix (2-3 tablespoons salt in a litre of white vinegar).
To neutralise Edinburch etch/ferric chloride, add some sodium carbonate solution (1:1 soda crystals diluted in water), use pH strips to check it’s neutralised, then let it settle - apparently if it’s diluted a lot, the liquid can usually go down the sink. The sediment/sludge needs to be dried off and disposed of more carefully. But I’ve seen people saying their mixture has lasted many years (one I saw said 8 years so far), so this isn’t something you’ll need to do regularly. This link is useful: https://scienceinsights.org/how-to-neutralize-and-dispose-of-ferric-chloride/ Please follow your own local laws and don’t trust a random blog on the internet, even if it is mine :)
Here are some of the sources I used when figuring this all out:
https://www.janebaxter.co.uk/into-the-trees-copper-plate-etching-work-in-progress/
https://nontoxic-print.com/edinburgh-etch/
https://www.jacksonsart.com/media/pdf/Etching_COPPER_with_ferric_chloride.pdf